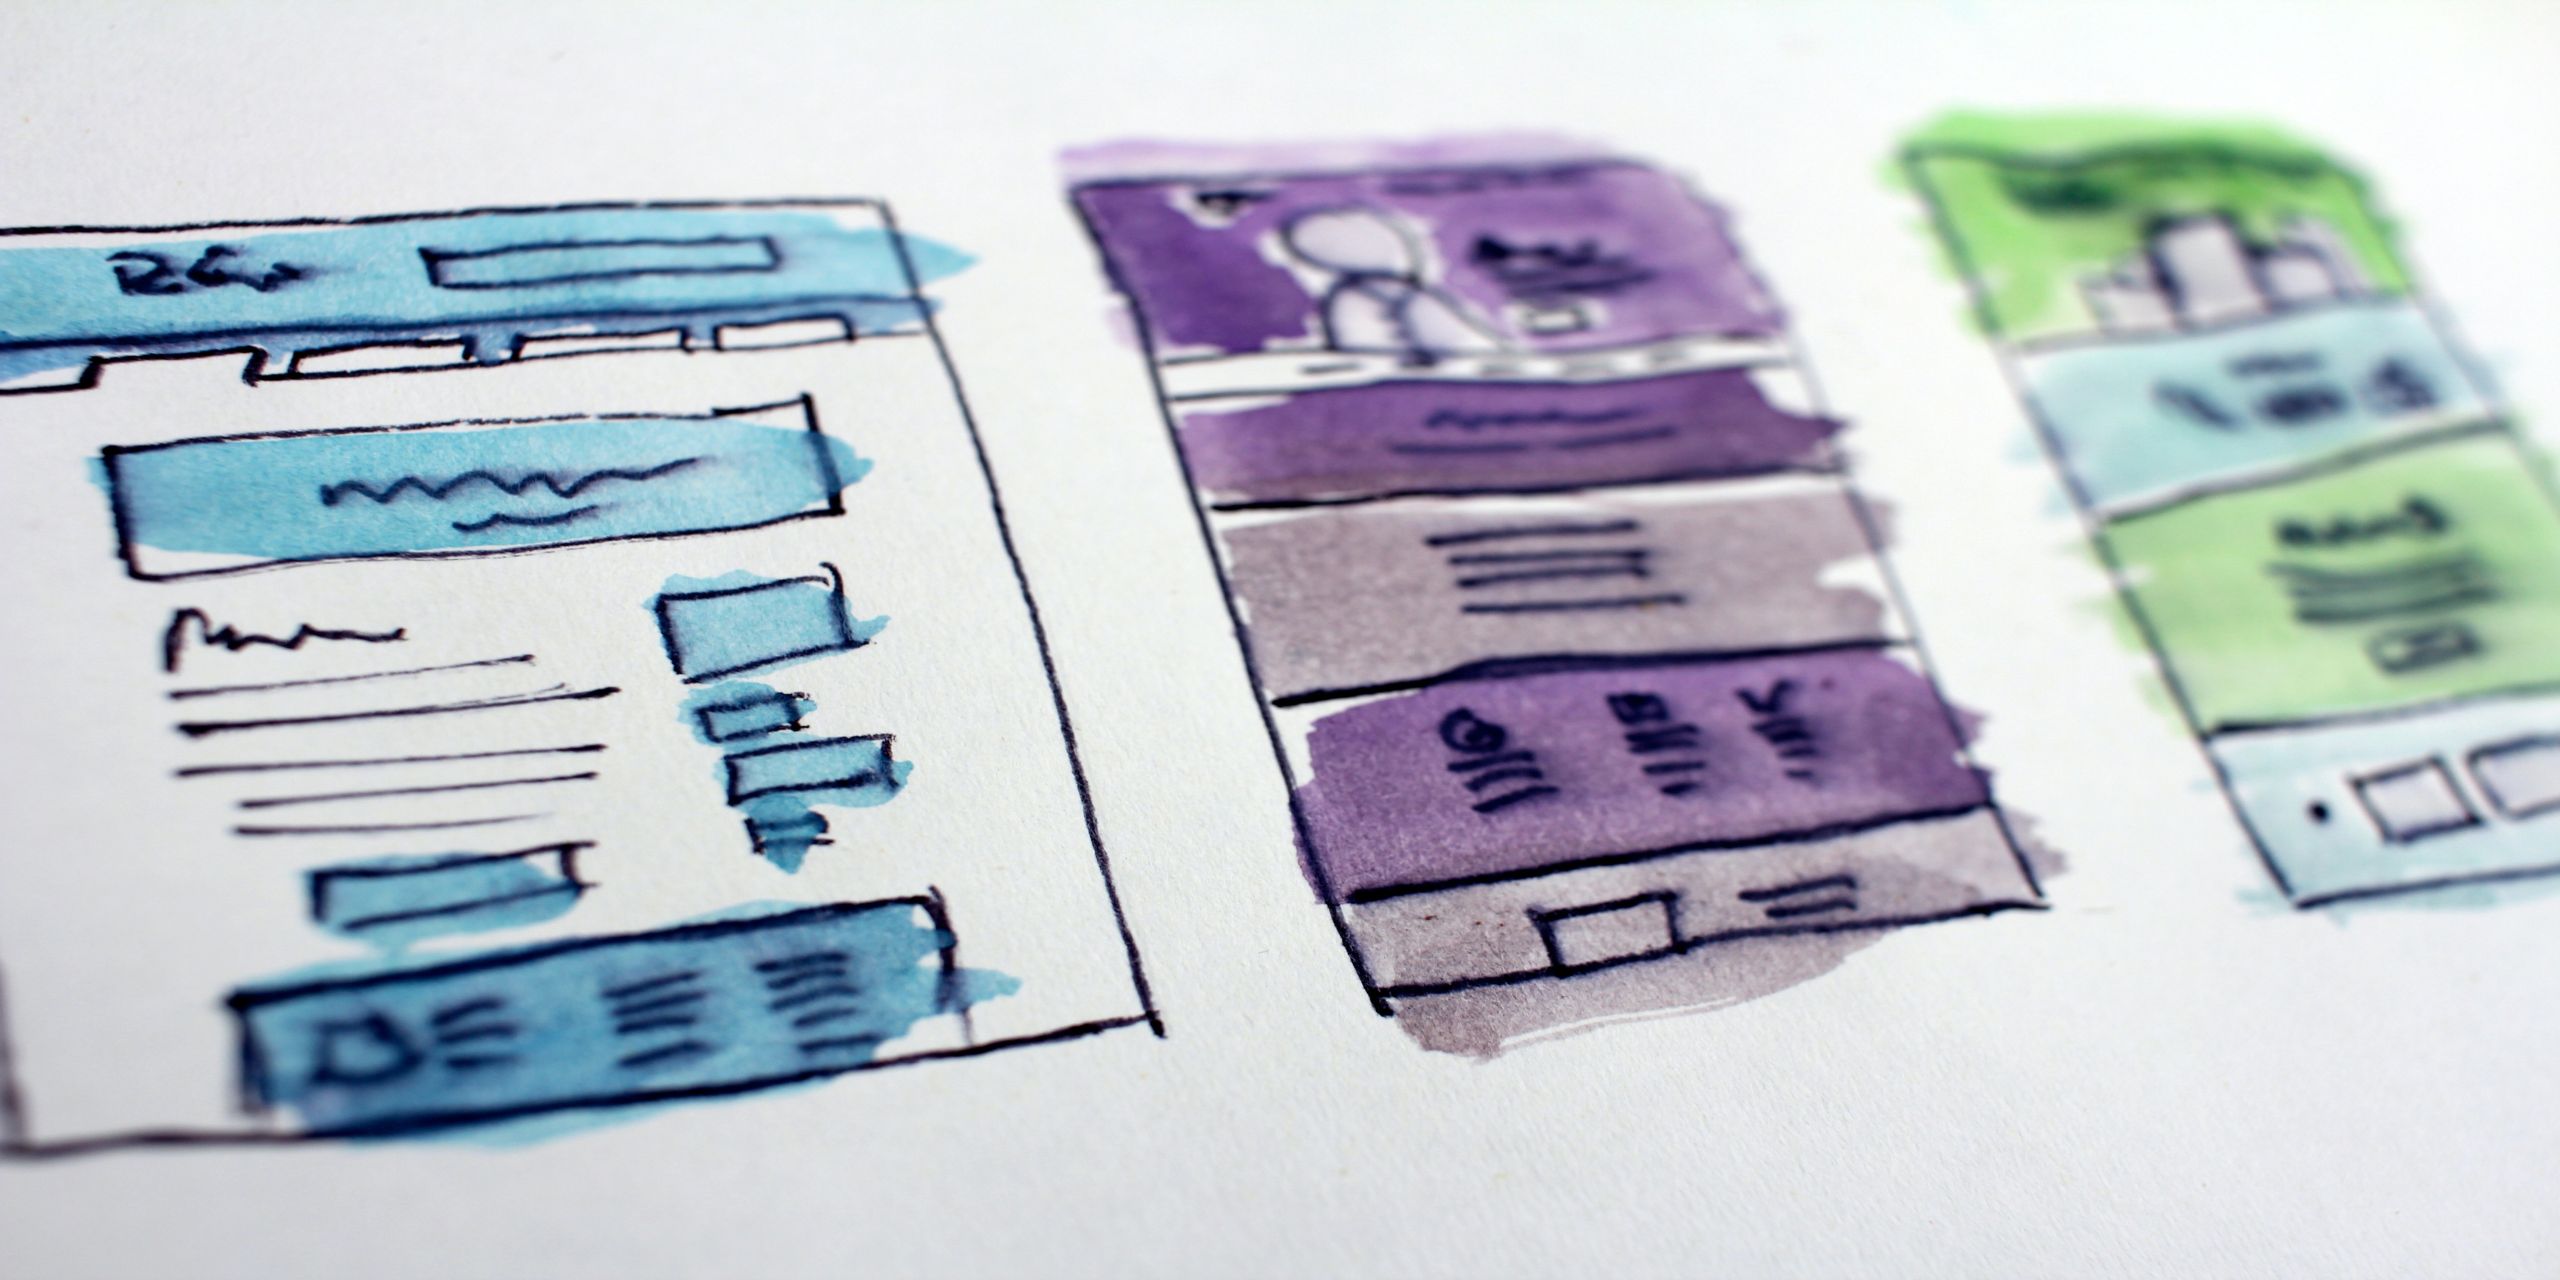
Redesigning the UI of an Enterprise Application: A Development Case Study
Web design trends come and go at a dizzying pace these days. While it might be easy to completely redo a simple website or a web application, visual design is not often a top priority for large-scale enterprise applications. But even with larger applications, there comes a time when the system’s look and feel becomes dated and the user experience is just not at the level it might be. And it directly impacts customers. It’s probably time for a refresh!
There have been many things written about the process of redesigning a user interface from the design and UX side, as it is probably the most important part. But the truth is that for the entire project to be successful, there has to be a serious consideration, proper architectural decisions, and a clear delivery roadmap from the development perspective as well.
At Egnyte, we’ve been working hard for the past 6 months on refreshing the UI of one of our core products. With this article, we want to give you a deep-dive into the entire development process of this project — our decision-making process, approach to code and delivery we took, and the lessons we’ve learned. At some point, every web application will inevitably go through some sort of visual modifications, so we want to share our story for anyone who will embark on a similar journey in the future.
The Challenge
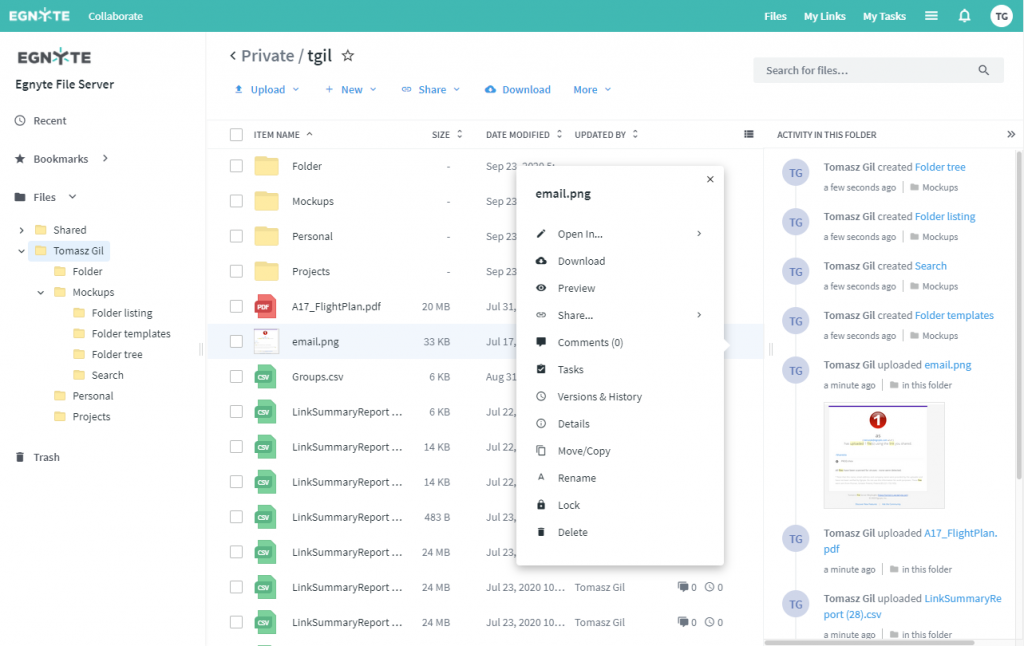
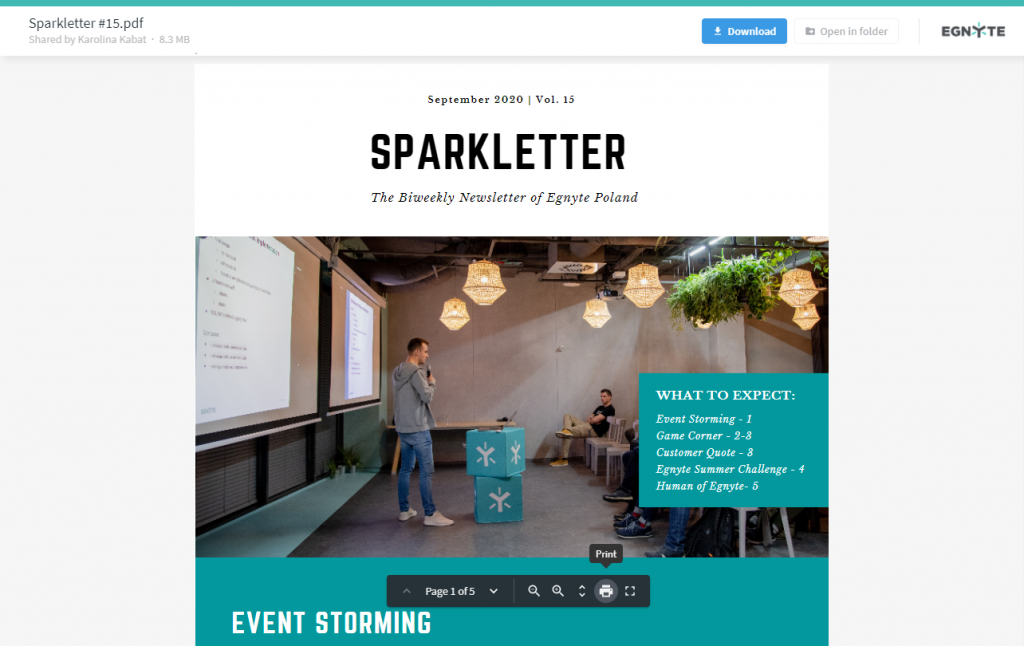
Egnyte is an enterprise platform with multiple clients (desktop, mobile, web) for file sharing, content management, and protection. The project focused on the web client of the biggest part of the system - applications enabling access, sharing and collaborating on the content. From the UI perspective these applications involved rich file listings, views to manage and access links, file preview with comments and tasks, as well as many others.
With such a big project, planned for months and affecting the majority of the code repository, there also were a few requirements we wanted to meet:
- We wanted to be able to test refreshed parts of the system independently and gradually roll them out to customers. This would allow us to control the quality of the delivered product and get early feedback from customers.
- We wanted to avoid a dedicated feature branch for this project. It would lead to maintaining two versions of the entire system for a very long time.
- We agreed on not refreshing the entire system. There has been a conscious decision to narrow down the scope and focus only on the most frequently used parts and leave out parts available only for a narrow group of administrators (such as settings and report generation views).
These requirements led us directly to the approach we took for the project.
The Approach
We achieved the first two points from the previous list with feature flags. Our UI gets the configuration data from the backend. It involves session and user information, as well as a list of features available for the user in the form of feature flags. Features can be specified on both environment and client level. We added a dedicated feature flag to specify which components we want to display in a refreshed version.
As we progress with our project and refresh, e.g., our application’s search view, we just change the value of "ui.RefreshedComponents" to "topbar, preview, search" for our development and testing environments. For the production environment, this value remained empty until the rollout. Great, but how do we consume and act based on this data then?
Mostly due to the scale of the system, our application is a mixture of Backbone and React (slowly but steadily moving towards the later). Most of our styles are scss files, with some css modules for selected components. As the components and their styles were quite clearly separated already, we decided to go with a very simple approach - let’s create a copy of each component we are refreshing and switch between the two, based on the feature flag. For a React component, it looked as follows.
The missing part here is the is ComponentRefreshEnabled function implementation. We added this to the representation of this configuration object.
The same we applied to styles — we copied the files related to the refreshed component and added an extra class in the refreshed component’s implementation, allowing us to target the component with a higher specificity selector. The styles then looked as follows.
All of the above combined allowed us to keep contributing to a single master branch and switch refreshed components one by one, whenever and wherever we wanted.
The Process
That should be it, shouldn’t it? We jumped straight ahead, starting with the first few top-level components, such as the topbar or the folder tree, to verify if our approach is viable. One of the bigger challenges was to apply our approach to global styles.
What about fonts and icons?
The approach works quite well for applying new fonts. We extended our base styles with the following.
We assigned our prefix to a sass variable to target any global font size changes with it. The only thing left to do was to attach refreshed and fonts classes to the body when the page loads and the corresponding feature flag is turned on.
The situation with icons is far more complex than with fonts. We wanted to replace font-awesome icons with material-design-icons in the new interface. Both of those sets provide their own base styles for each icon, and even if there is a subset of similar icons, they will have different names. We decided to go with the following: similar to fonts, we add additional classes to the body when new icons should be enabled.
Next, we conditionally load old or new icons, based on the classes from above. Here, the selector can be more specific, as we don’t really need to worry about overwrites.
For old icons, we simply load the font-awesome library. We wanted to limit the changes to the styles only, so when refreshed icons are enabled, we load the following styles.
We extend the current icon styles with the new one. Then we created a map of old icons and their equivalents in the new set. The last thing here is to apply this map onto working styles, which has been done with a simple sass loop. Done, you support two icon sets in production.The biggest problem here is that we have done this after already refreshing a lot of the components (skipping font and icon changes). Had we done this as the very first step of the refresh, we wouldn’t have to retest all already refreshed components. The lesson here is clear — refresh globals as early as possible!
Turns out, we have more than one implementation of…
...a modal, in our case. They were all styled with the same css classes in most cases, but some had slightly different markup structure, some had their own action buttons. Refreshing all modal components in that state would mean applying the same changes in multiple places. This is a clear sign that there has to be some initial work done.Our Technical Debt team took care of this — they created a unified structure for modals, prepared a single generic component, and refactored all system’s modals to use this component. Thanks to them, when we arrived at the place, we had to apply changes only to a single component.Such a project is a great chance to unify a lot of things — do this first, when necessary. It makes the refresh process much easier, and you ultimately leave the code in better shape than before. Win-win!
You think you’re done already?
All views that you initially planned are refreshed, the feature has been enabled on production, so we can call it a day, right? Not so fast. With such an approach, there has to be a cleanup phase after your refreshed UI is available to the clients. And this is also the part where you can see if you’ve done a good job.Copying components made the process quite smooth, but it didn’t go without some hiccups and entangled code. Remember to leave comments for the future as they turn out very helpful when you're dealing with temporary changes. One area where you have to put in extra effort is working with the icons. If you want to get rid of the mapping (and you should), it requires changing actual icons names in all places where they are used (fortunately, with the mapping already in place, this could be easily automated). Everything comes with a cost, so be aware and communicate this early and up-front.
Evaluating our decisions
As time went by, it became clear which of our initial decisions have been correct and made our development process faster. It is also easy to point out which ones were merely a necessary compromise and which have been straight-up bad.Using the mechanism of feature flags and applying individual flags to top-level components is what allowed us to test components independently and not have to maintain a feature branch. We could also roll out the refreshed UI without file preview to some customers. This decision was necessary, and we clearly benefited from it. Having said that, it is worth thinking about adding a possibility to switch all refreshed components at once or turn them on based on some query parameter in development mode. That can significantly speed up the work.From the product perspective, sticking to top-level components, such as the topbar, file and folder listing or search view makes sense — the visual changes are easy to distinguish, they are nicely contained and consistent within the refreshed view. This approach also makes it easy to test the applied changes. That’s all good, but let’s imagine a scenario where you have a shared dropdown component in the search and folder listing. If you want to refresh the search first, you have to overwrite the shared styles of the dropdown in search. Then, when you refresh the folder listing, you have to do the same there. And after the project, you have to remember to replace the original styles and remove the overwrites. That’s a lot of extra, unnecessary work that, if not done properly, leads straight to inconsistencies and code that is hard to maintain. Rather than going feature by feature, it’s probably better from the development perspective to go component by component.It’s crucial to point out that copying components, despite being clear and straightforward, has its obvious downsides.
- Maintaining two versions of UI - once bugs appear, you have to remember to fix them in two places and perform tests for two versions of a component.
- Potential to introduce bugs - you have to ensure that refreshed components import only other refreshed components. Otherwise it’s easy to introduce bugs or end up with dependencies that are not easy to trace or resolve in later stages.
- Bundle size and build time - you end up shipping almost twice as much js and css to the client, almost half of which is not used. Also, all of that code needs to be built and tested, which simply takes more time.
Finally, with such a project, you are most likely to get many regressions in your system. Have this in mind from the very beginning and test the changes very thoroughly. If you have integration tests, use them to your advantage.
Conclusion
Ultimately the project ended up being successful. We managed to safely deliver it, sticking to a given timeframe, and the feedback from the customers has been positive. Now, as we look back at it, there are a few lessons that can be learned when conducting such a project.
- Plan ahead. Know the full scope and order the work correctly to avoid moving large parts of the work or retesting them. Make sure there’s enough time since the process will most likely turn out more complex than you initially think. Start with the basics, like fonts, icons, or buttons, and then build on top of that. Structure your changes based on the code, not necessarily individual features. If your approach requires a cleanup after a full rollout - make sure there is dedicated time for this, as this is still a part of the project.
- Think design system.If you don’t have a design system, this might be the right time to introduce one. Having each visual component moved to a separate library, styled and then reused might give a lot of quality to the code, possibility to reuse it in the future, and consistency to the product itself.
- Balance the scope of changes with the possibility of inconsistencies.Perhaps from the business perspective not all parts of the system have to be refreshed right now. This might allow the project to end faster but will lead to inconsistencies in different areas of the system. Have this in mind.
- Communication with the design team is key.Review suggested designs and contrast them with what you have in the code or in the system, especially if the system is large. It is where a design system might come in handy as well. Make sure both parties have enough time to provide help or information on the go, if needed. It is also important for the design team to give feedback after a part of the design is delivered.
- Give a heads-up to other developers.Communicate with other teams working on the same system as it might interfere with what they do, so update them as often as possible to prevent unnecessary work.
- Get other people involved from the beginning.Get the entire company on board with testing and providing feedback from the early stages. The more eyes you have on your new design and the implementation before it hits the production, the better!
Refreshing user interfaces can be challenging, but it also can be fun. There could be a lot more said about such a project, but we sincerely hope that this overview will help any developer preparing for a similar adventure.