
How to Deploy Egnyte's Project Templates in 3 Simple Steps to Save Time on Project Set-up
If you're an architect, builder, or engineer, you know that one of the most time-consuming parts of starting a new project is setting up the permissions for each subfolder. You must set the permissions for the same folders over and over again for every new project, which can really start to eat into your billable hours.
Fortunately, there's a way to save yourself some time by using project templates. In this blog post, we'll show you how to use project templates so that you can spend less time setting up projects and more time working on them.
What are Project Templates?
A project template is a pre-made folder structure and permission set that you can use for new projects. This way, instead of starting from scratch and creating all of the necessary folder permissions manually, you can just use a template and have everything set up in a matter of seconds.
In addition to assigning permissions for pre-existing groups or users, project-specific groups can be created and assigned permissions on the folder structure at the time of project creation. This means that instead of assigning permissions to an already existing group or user, new ones can be created at the time of making a folder structure and then populated with specific people who will have permission in said folders.
Why Use Project Templates?
Using project templates can save you a ton of time on set-up. If you're working on multiple projects at once or if you're working with a team of people, having templates can be an essential time-saving measure. Not to mention, it can also help keep your projects organized and running smoothly.
How to Use Project Templates?
When using Egnyte's project templates, take the following steps to create your own template.
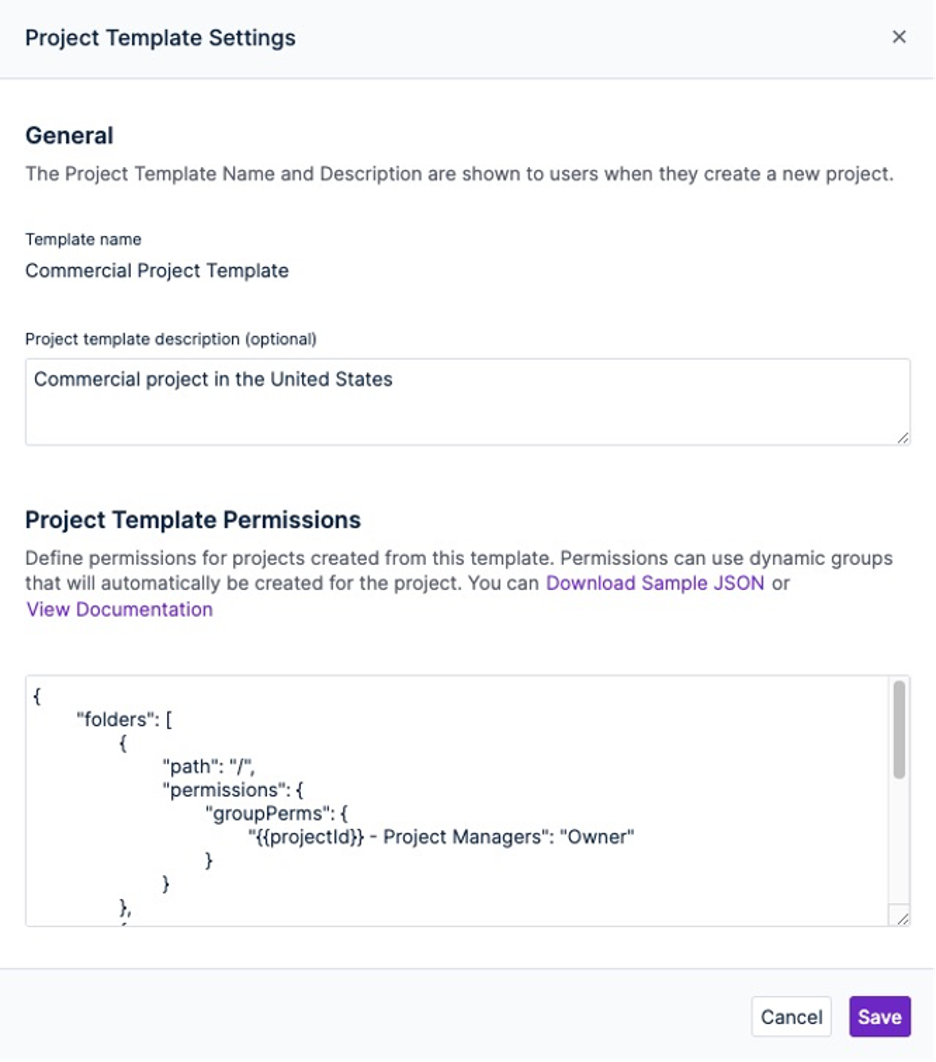
Step 1: Create a Project Template
To create a new project template, create a folder structure under /Shared/EgnyteTemplates/Project Templates. Give the top-level folder a relevant name, e.g., "Commercial Project Template." Use Project Template Settings from the More menu to set a template description and configure the templates' groups and permissions (If the template you want to use already exists, you can skip down to step 2).
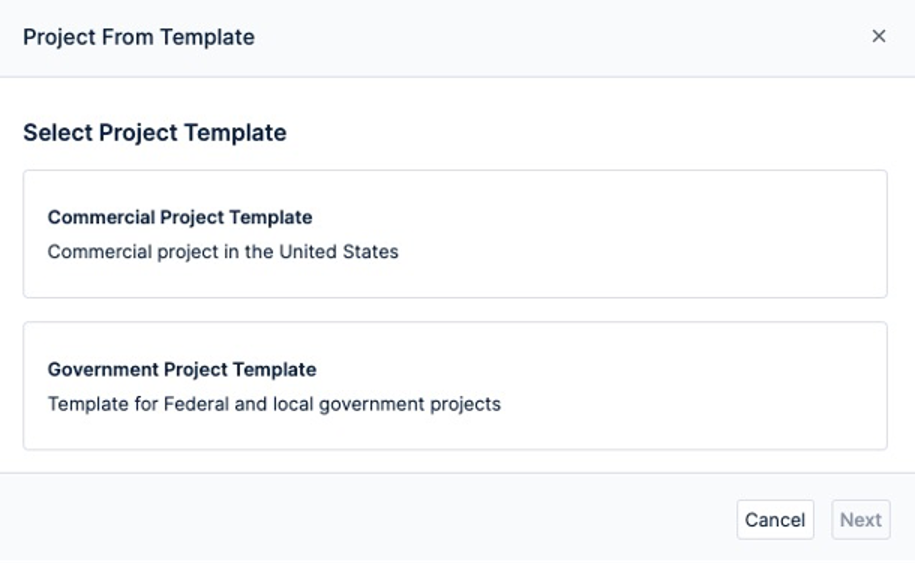
Step 2: Create a Project from a Template
Accessible from the WebUI or via API, a new project with its complete folder structure and permission set can be created instantly using a predefined project template.
Simply select New < Project from Template and choose the template that pertains to the respective project.
After selecting the template, populate your project's metadata and watch your project get created.
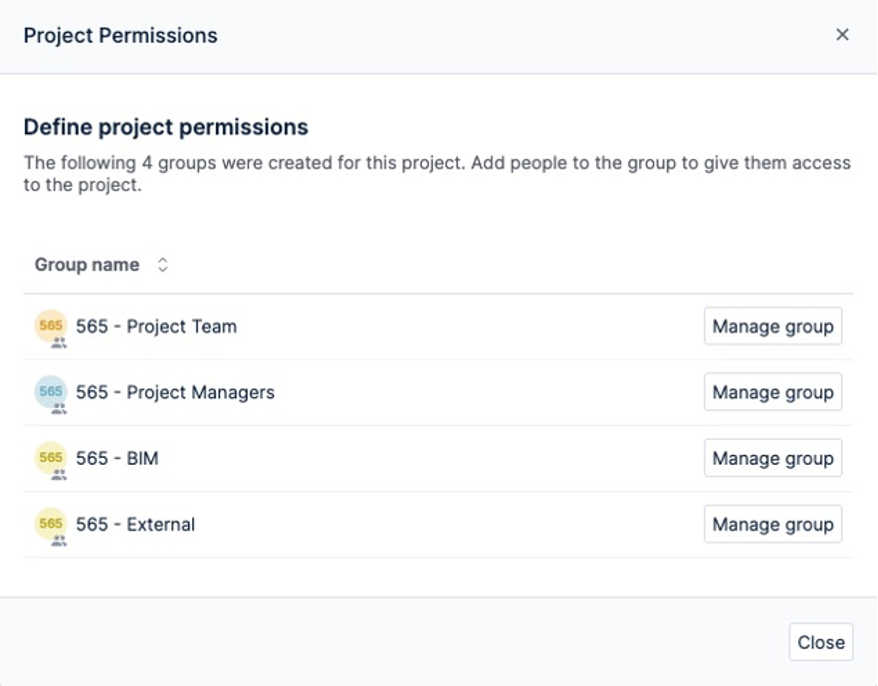
Step 3: Populate Project Groups
If you defined any new groups to be created in your project template, you can now populate those groups with users. If you don't know all the project members yet, you can always update these groups from the Users & Groups section in your Settings.
Project templates from Egnyte are an easy and efficient way to save time on project set-up and closeout. Creating a custom folder structure with templatized permissions can be accomplished in a few easy steps, and deployed in a single click on future projects. Project templates keep your projects organized and running smoothly - we highly recommend giving them a try!
*Note: Egnyte's Project Templates are included in the AEC package at no extra cost. Project Templates allow new projects to be created within Egnyte in an expedited, and sometimes automated manner.